
| You are not logged in. (log in or register) | |
|
|
|
Tutorials :: Improving Shadow and Highlight Detail
Improving Shadow and Highlight Detail by timj351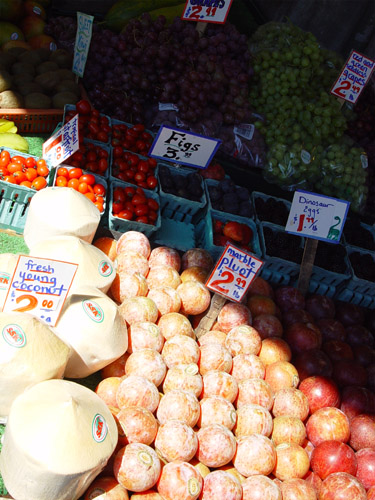 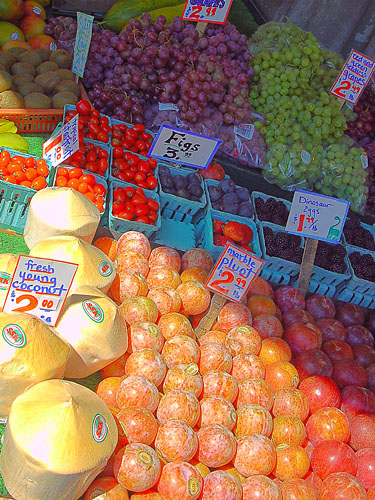 I have a new technique I would like to share with you. I discovered it where else but on an online forum from username Mr. Jalepeno. I take no credit for discovering it, I am just passing the information along to you. Surprisingly there is a great amount of detail in what appears to be blown highlights or murky shadows and this technique is great for revealing those hidden details. The real beauty of this technique is that it can be made into a Photoshop Action for a one step “fix”. This technique is done by applying Blend modes to a selection of the highlights and shadow areas within an image. Here's a fast way to select highlight information: Press Ctrl-Alt-~ (the Tilde key, just above the Tab key). I’m not quite sure how it works but it is pretty cool. Create a new layer (Ctrl-J) from this selection and rename it 'Highlights. Change the Blend mode in the Layers pallette to 'Multiply' and the highlights will gain additional density. Adjust the Opacity slider for the best effect. Next, click on the Background layer and select the highlights again as above. Then Select->Inverse to invert the selection, resulting in a selection of the shadow information. Feather as above, and create a new layer named 'Shadows'. Change the Blend mode to 'Screen' and the shadow density will decrease. Adjust the Opacity slider for the best effect. Flatten the layers and you're done! This won’t work the same on every situation but I have found that a wide variety of images can benefit from a small boost to the shadow information or a little more clarity in the highlights. I created four Photoshop Actions to make it real easy to apply. Two of the Actions have different percentages of blend modes for the shadow and highlight information giving me a choice of a medium or high effect. The other two Actions apply enhancements to only the highlights or the shadows individually for maximum control. With many images it may be necessary to apply more than one action for a greater effect. I’ve included several “before and after” examples of the power of this technique. None of these images had any dodging or burning applied to them. This technique has one drawback in that it can enhance noise in the shadow areas and it may be necessary to use a program like Neatimage to reduce that noise. There can also be some slight color shifts especially in the highlight regions where a little Hue and Saturation adjustment may be needed. Most of these images had minor adjustments to the color, noise reduction if needed and very slight sharpening applied. All of these steps were very quick to apply, Neatimage being the slowest step. Wherever possible I use PS Actions to speed up the editing process. Everything from levels of saturation to degrees of sharpening can be made into an Action for a significant time saver. If you have any questions regarding this technique or in creating actions feel free to send me a private message. 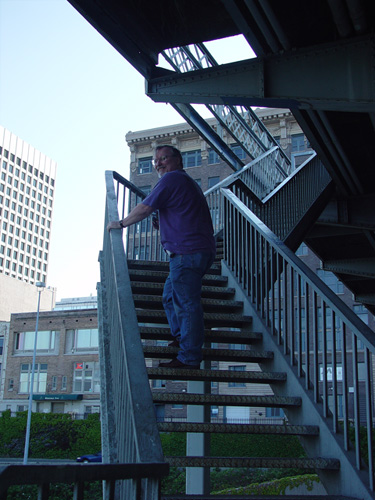 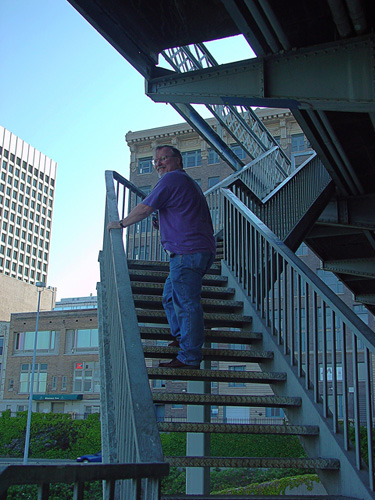  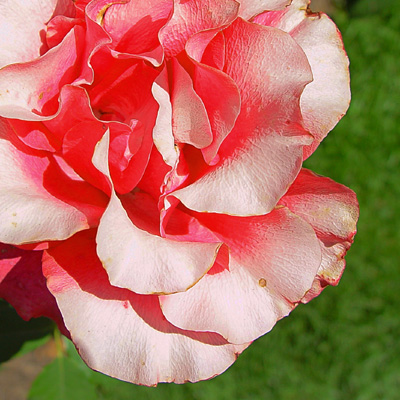 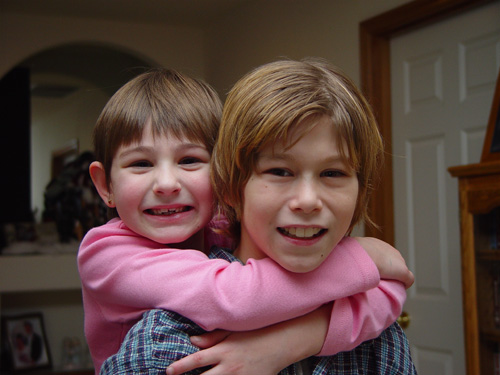 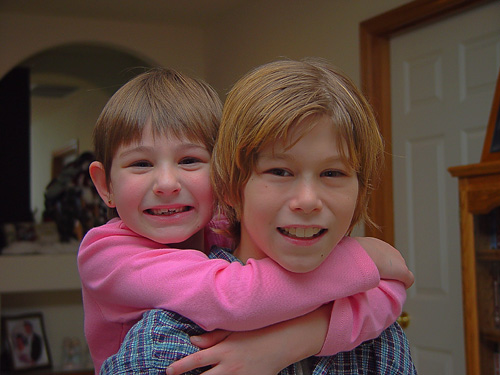 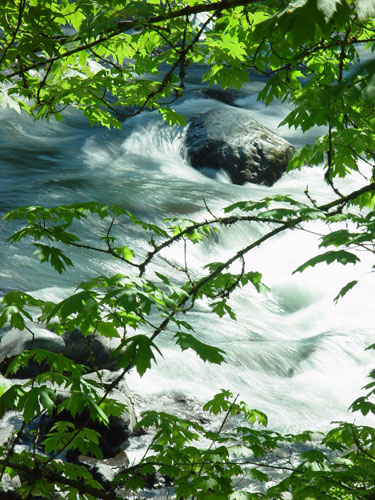 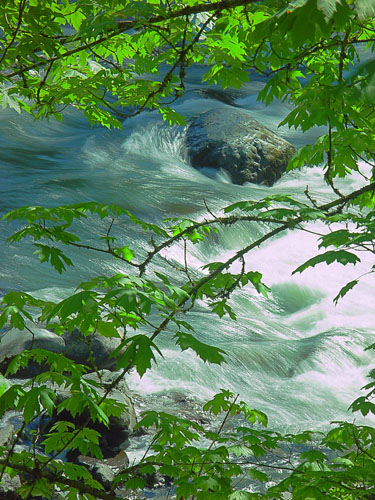
Home -
Challenges -
Community -
League -
Photos -
Cameras -
Lenses -
Learn -
Help -
Terms of Use -
Privacy -
Top ^
DPChallenge, and website content and design, Copyright © 2001-2026 Challenging Technologies, LLC. All digital photo copyrights belong to the photographers and may not be used without permission. Current Server Time: 07/07/2026 08:42:45 AM EDT. |