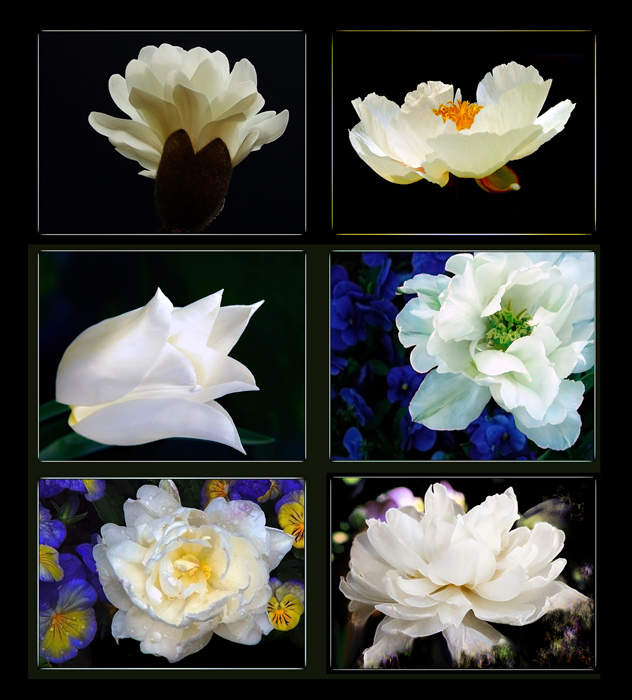
I love making these up. Never perfect, always fun. If anyone wants the details on how I do this, I can post it here.
OK
To create the skinny border I use Image>Canvas Size, which take the background color on the toolbar. I work with the images as I resize them for DPC. First, I add a 2 pixel border of black which is not that noticeable but just enough to help photoshop know where it's edges are. Then I add a 4 or 6 pixel border in a pale color that I get by using the eye dropper to pick the color from the image. Then I add a 30 pixel border in black. I use the magic wand to pick the skinny color border. I set up a small brush with soft edges in black to paint out the corners. Fine tune the corners with the Dodge tool. Fine tune the centers of the lines with the Burn tool. That's it. Takes about 60 seconds to do each one.
To put 6 or 9 images together in a collage, you need the Guides, and the Snap To Guides tools. Also the Image>Canvas Size. I use images that have one edge in common, usually the long edge. Open all six images. Start with the one you want in the lower L coner. I Save As & rename it immediately to a PSD file.
The fact that they have one edge in common makes the math easier (I use a calculator). If the corner image is 700 pixels wide and you're going to place another one to the R of it that is also 700 pixels wide then you need to increase the canvas size by 700 pixels, plus 30 pixels for a center margin. Image>Canvas Size will let you move the existing image to the lower L corner before you increase the Canvas Size, this places the first image in the L corner, with 730 pixels of black BG to the R.
Copy/Paste image #2. It will land in the center by default, in it's own layer. Ctrl+A to select it, Ctrl+T to put handles on it so you can drag it over to the R corner. It will snap to document edges by default. This is why the outside border is not added until the very last.
Make a BG for the next row by increasing the canvas size by whatever height your next image has, plus 30 pixels for an interior border. Copy/paste as before. Don't worry about perfection yet. Copy/past image #4 in next to it & drag it to an approximate correct position. It will snap to document edges easily, making this fairly quick.
Increase the height as before for the next row, etc.
You will have six images with a 30-pixel interior border in your BG color, but they won't be perfectly aligntned. This is where the Guides come in. To use Guides, you have to have Rulers showing. Click in the Ruler & drag yor guide into position, starting with the image in the lower L corner & using its edges as a marker. You will see which edges are not aligned as you drag the Guides into position. Then, in the View menu make sure you have Snap To>Guides selected.
Layer by layer, starting w/image #2 use Ctrl+A, Ctrl+T & fine tune each one to line up perfectly. Easy-peasy, cos they all snap right in place. Save.
Flatten. One last time increase Canvas Size to add the outside border. Resize & Save For Web.
Honestly, the whole thing from beginning to end takes about 20 min. It took me longer than that to type all this out! The key is to save perfection for the end, & to let Snap To>Guides do all the work for you.
I tried to be clear. Oh, dear. If you have questions, I don't blame you. Ask away, I will try to clarify!
A stunning combination of six pictures whiche are extremly well done and could easily compete as single shots. The fragile blossoms a extremly effective with your use of light.
Reminds me of several posters I created myself (but being far away from the quality of your work) and the fun I had while making them - this might be a good project for raw fall evenings