
| You are not logged in. (log in or register) | |
|
|
|
Tutorials :: Quick Mask Alternatives for PSE4
Quick Mask Alternatives for PSE4 by Dirt_DiverThis tutorial is for users that have PSE4 and do not have the ability to use a quick mask here is another way. Here is a way that you could outline a subject using a paint brush instead of the quick mask mode that Photoshop users have. For this image I have created a black layer and placed it in between my background base layer just so you could see the tools used. 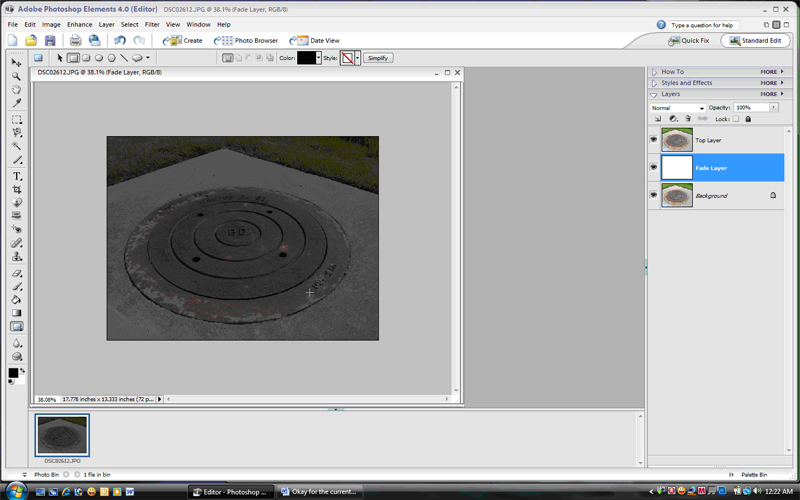
Select a marquee of you choice. For learning purposes I used the Elliptical Marquee to show you how to touch up the edges of a subject. Use youĺre Selection tool to select the majority of your subject. For really weird shapes try adding or removing the selection by using ôAdd to Selectionö or ôRemove from Selectionö tools that are right next to the ôcurrent tool selectionö. 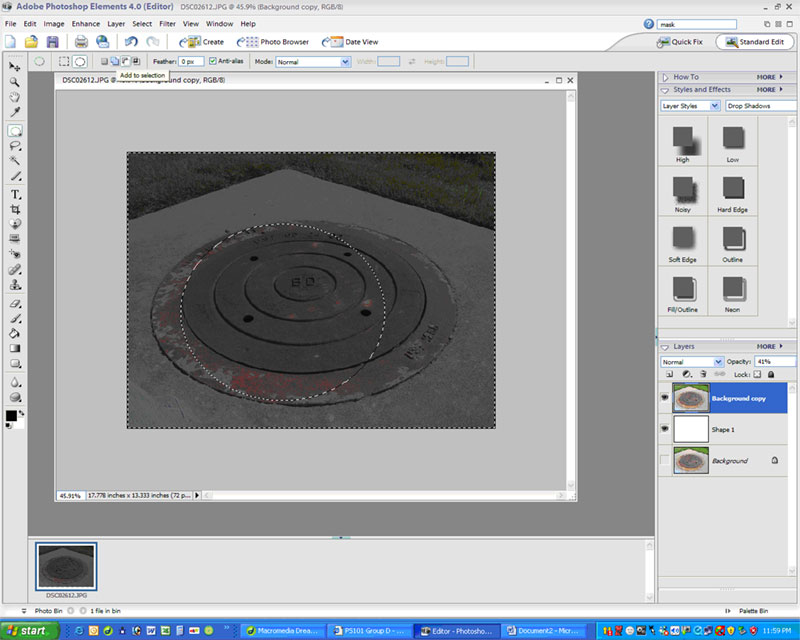
Once you have the majority of your subject surrounded with the marquee you can do a few things to invert the selection. You can Create a new layer and set the opacity at 60%. Make sure that this new layer is at the top of the layers pallet. Use a SHARP paint brush to paint the surrounding areas of your subject with a dark or light color that allows you to see the edges of your subject. 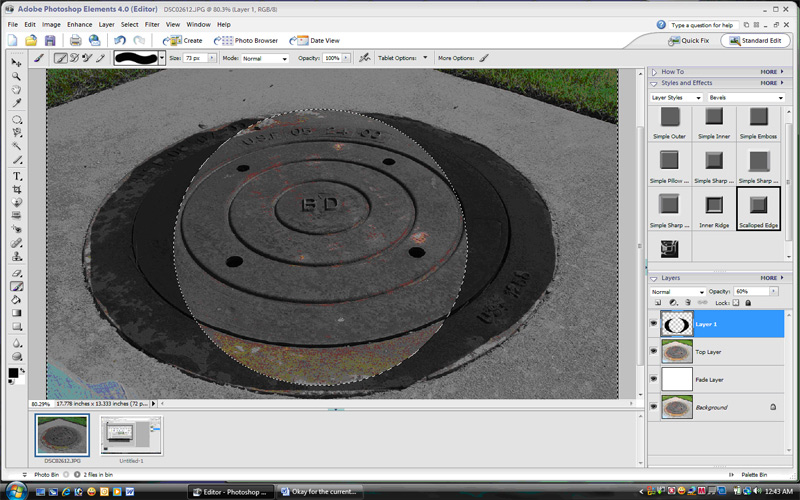
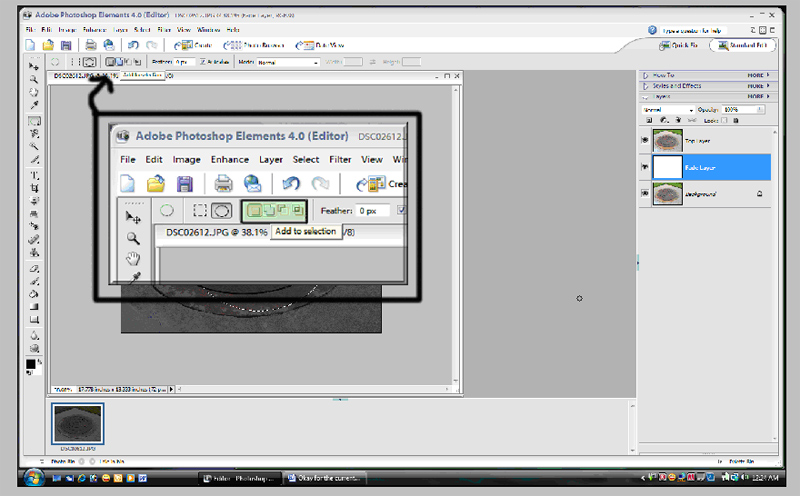
If you zoom in, it makes it a lot easier to see your edges. (for those with a scroll wheel on your mouse, you can scroll up or down to make the image zoom in or out). 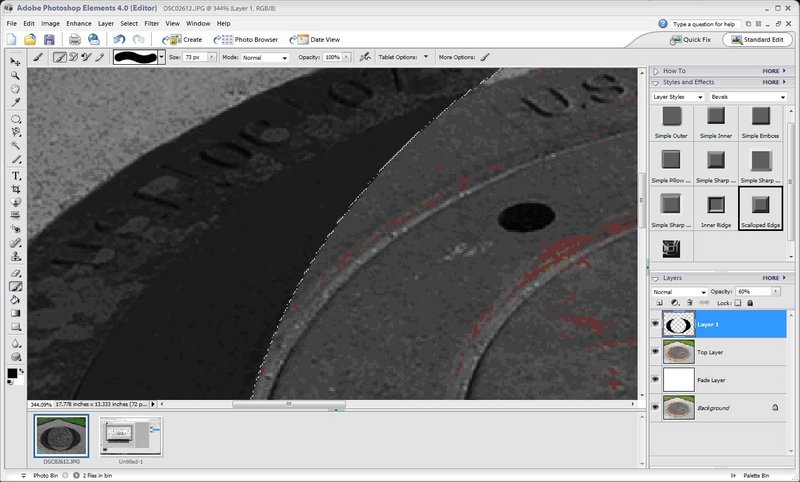
Once you have the entire area selected zoom out (or double click the hand tool to bring youĺre image fully out to fit on the screen). Invert the selection again to bring it back to normal selection using CRTL+SHIFT+I, or go to SELECT>INVERSE. Once you are back in normal selection mode choose a large brush and completely paint in the selected area of your subject. Once competed it should look something like this. 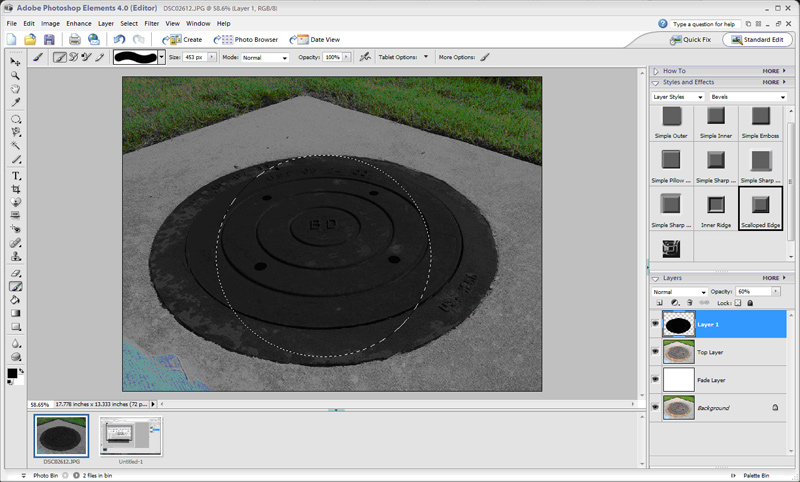
Use CRTL+D or SELECTION>DESELECT to remove the marquee on the newly painted layer. Use the magic wand tool to select the painted area that you just made. Once selected uncheck the ôeyeö on the painted layer to hide it and click to select the layer that you would like to edit. Now all you have to do is make you adjustments as you wish. If you want to edit the background just invert the selection again and adjust or apply your filters. 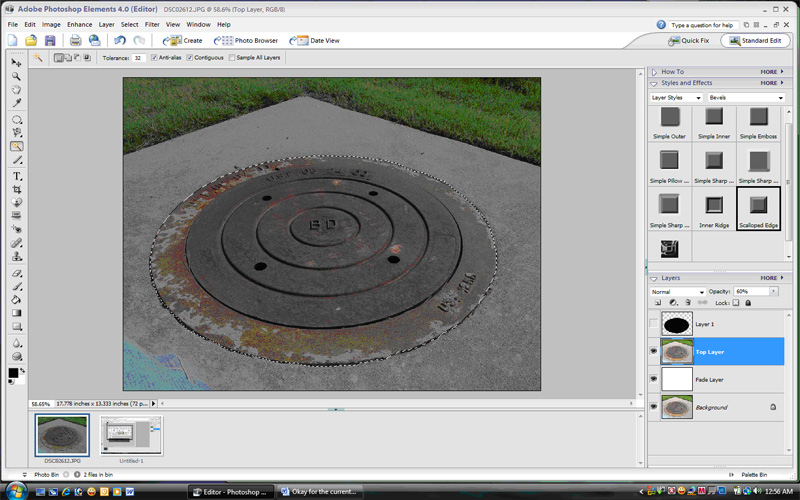
There you go. Thatĺs all you have to do. I know it seems like a lot but it really not all that much more with the quick mask mode. Same concept as far as painting and things like that. Good Luck and I hope this helps. 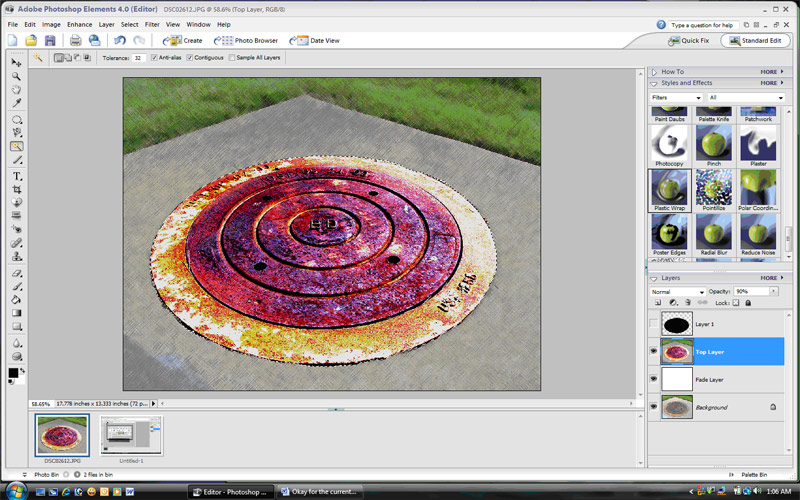
Home -
Challenges -
Community -
League -
Photos -
Cameras -
Lenses -
Learn -
Help -
Terms of Use -
Privacy -
Top ^
DPChallenge, and website content and design, Copyright © 2001-2026 Challenging Technologies, LLC. All digital photo copyrights belong to the photographers and may not be used without permission. Current Server Time: 07/06/2026 11:54:17 PM EDT. |