| You are not logged in. (log in or register) | |
|
|
|
Tutorials :: Smoke Shots
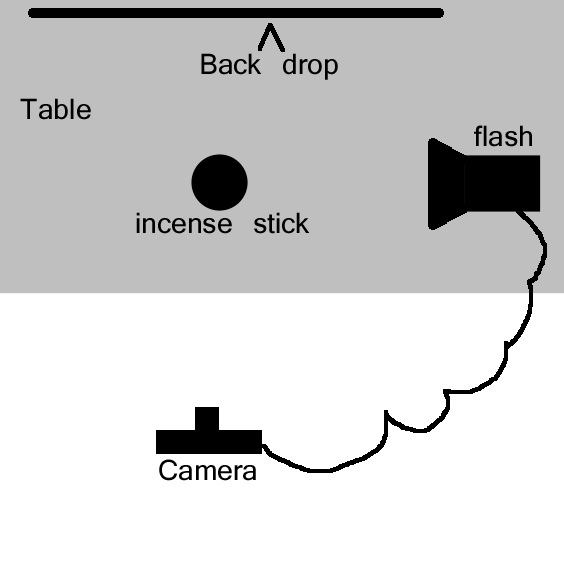
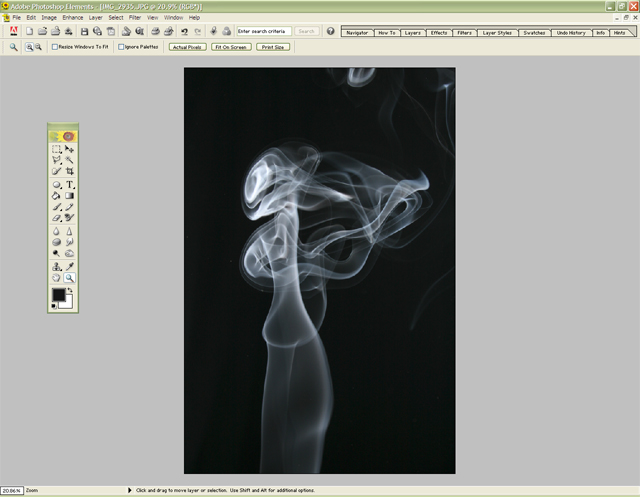
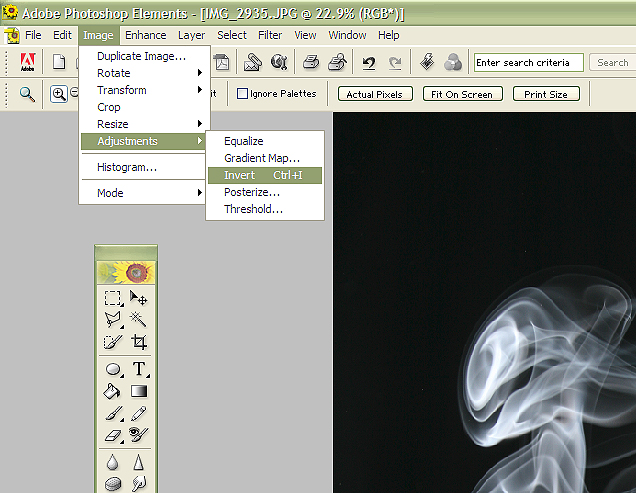
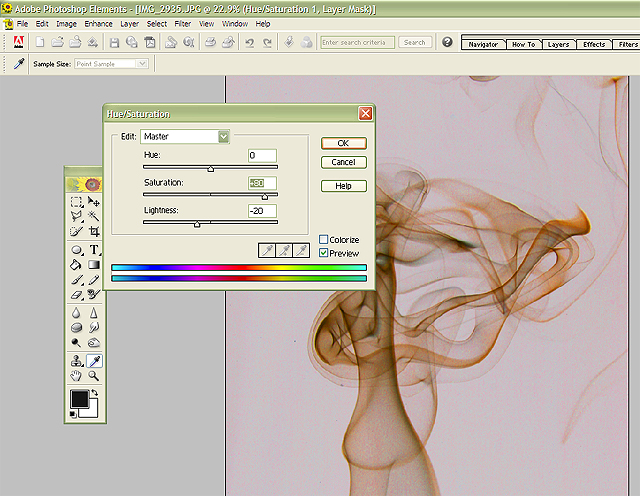
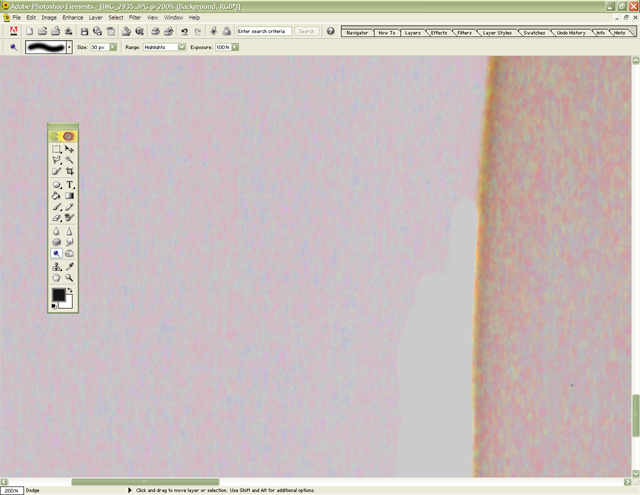
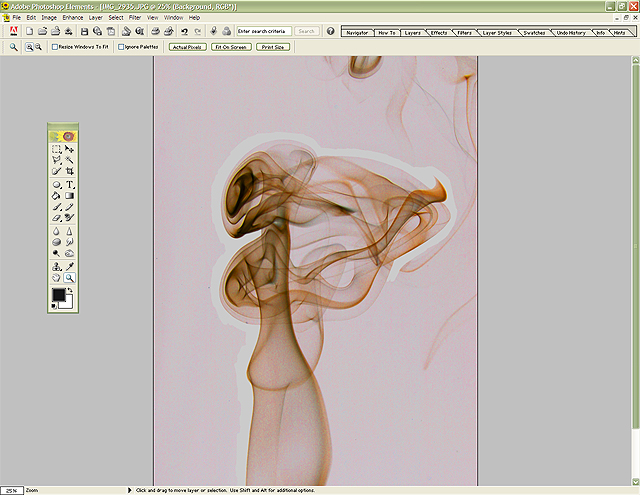
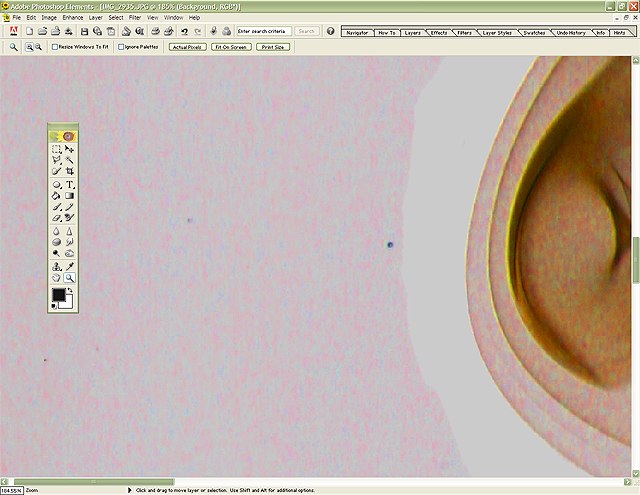
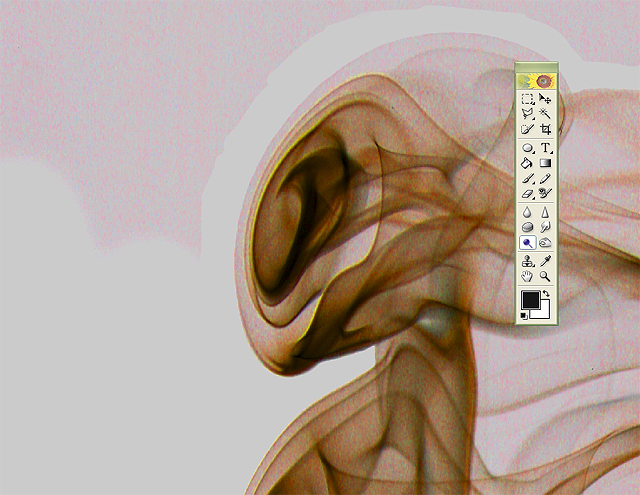
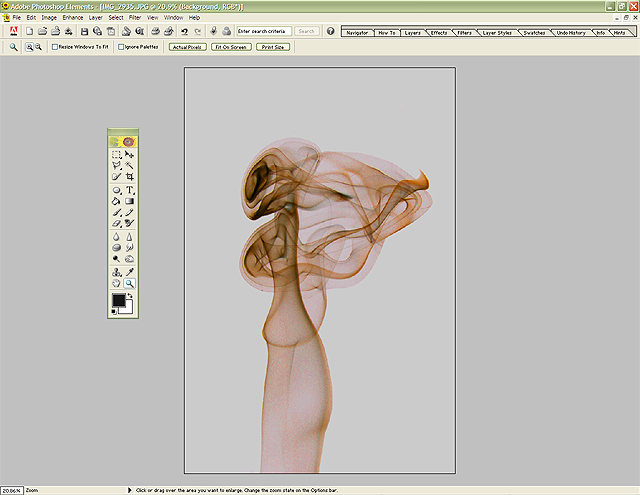
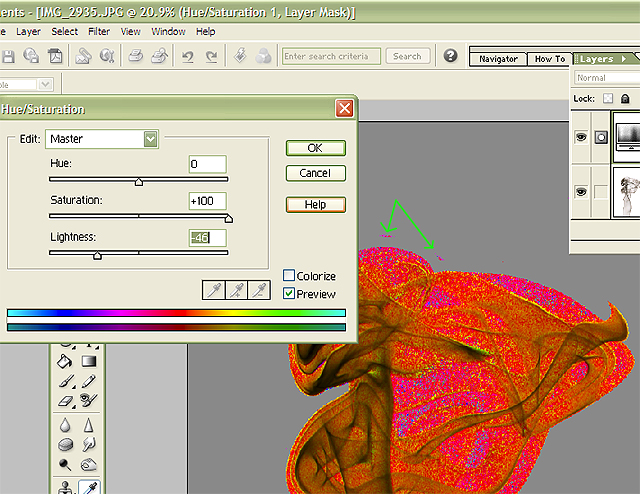
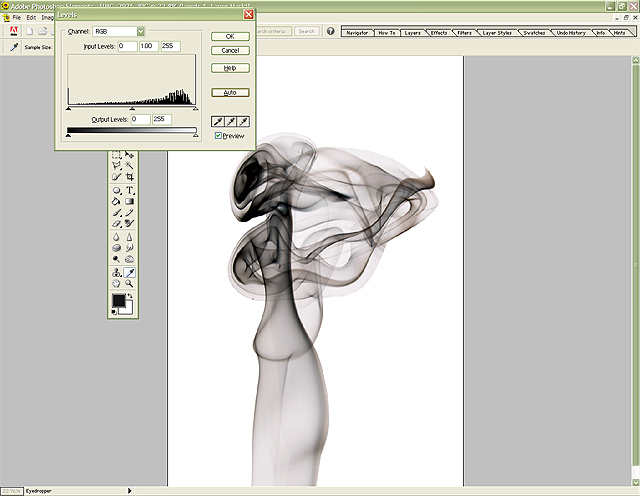
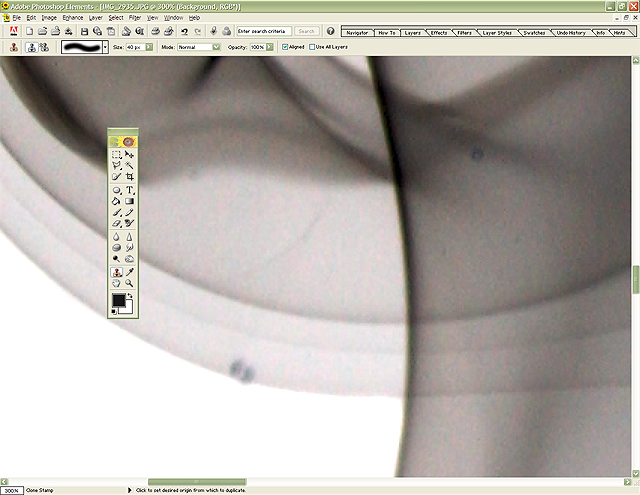
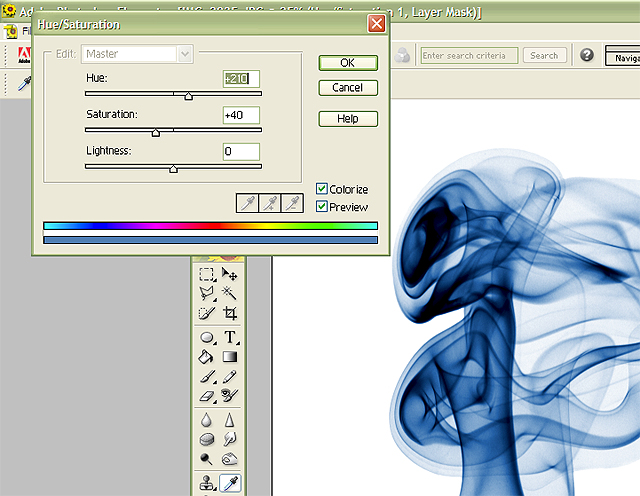
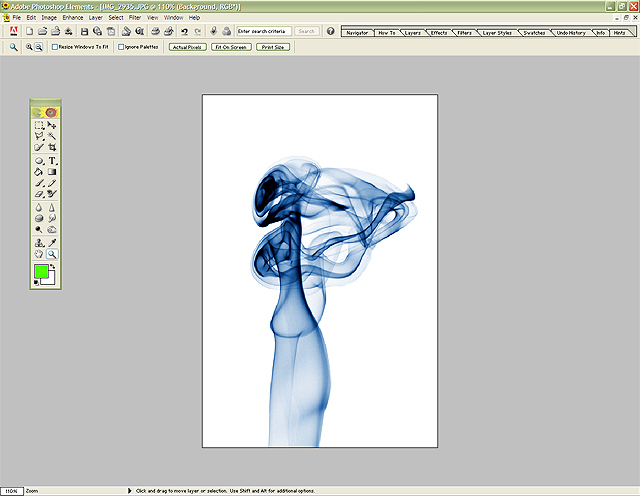
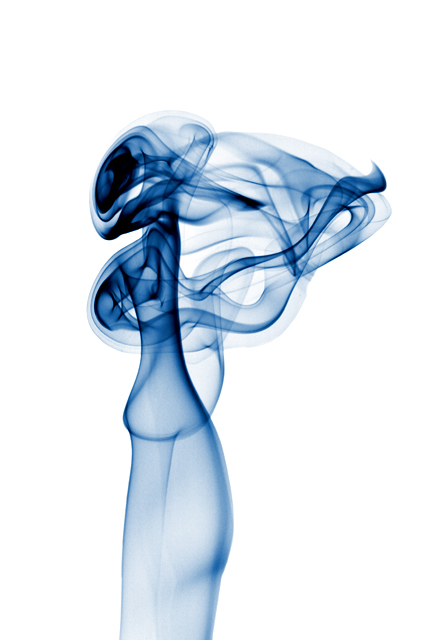
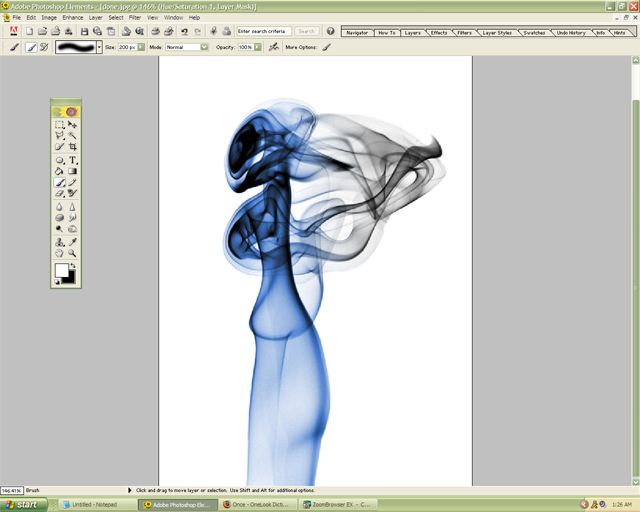
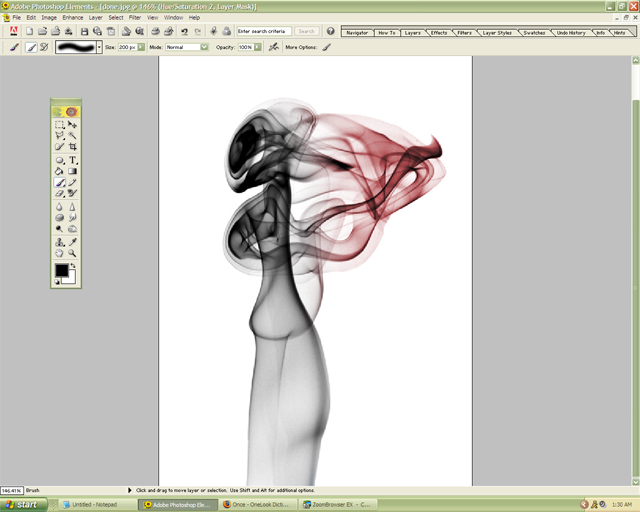
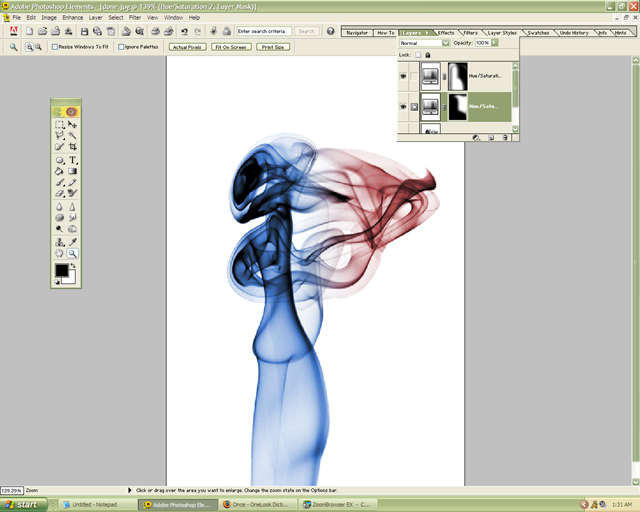
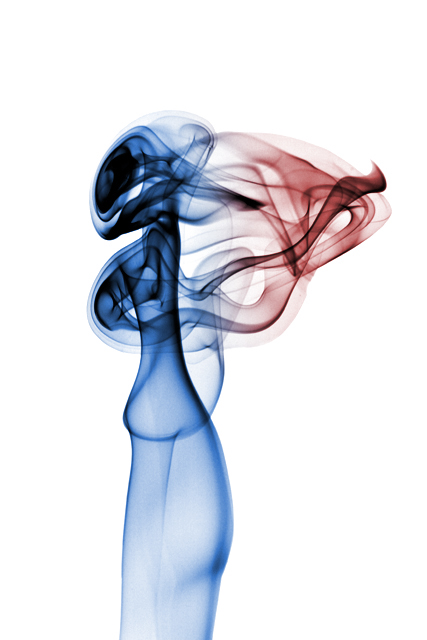
Smoke Shots by mobsterHere is my first attempt at writing a tutorial so bare with me. I am by no means an expert on the subject I just happen to know a little about it. I usually take about 30-40 pictures for every one that I use. In addition, I go though several incense sticks at I time, so if you are bothered by smoke I would suggest that you do this in a well-ventilated room. As far as how long it takes me, I usually spend about 30 minutes to an hour on each picture. But enough of my ramblings lets get to the tutorial! I take my smoke pictures in a little makesift studio that is set up on a table with a piece of black cloth for my background. The camera is set up on a tripod about three-four feet from the incense with the flash mounted to the right on a stand. I shoot with the camera at ISO 400 and the highest F-stop I can, the greater the depth of field the better. Also, I would advise keeping a glass of water nearby, just in case. Here is a crude diagram of the setup. Now is when the fun stuff begins. *WARNING* 1. Once you choose a picture, open it in Photoshop. 2. Then click Image>Adjustments>Invert 3. Then open the hue/saturation layer, set the saturation at about 80% and the lightness at about -20 (This step is optional; however I find that it makes it easier.) 4. Then click on the dodge tool. 5. Make sure you zoom out all along to check your progress. 6. When you finish going around the edges click on the clone tool and clone out any spots caused by the ash from the incense. 7. Then click on the Dodge tool again and go over the rest of the background. Set the brush size as needed. 8. This is what the picture should look at this point. 9. Now, go back to the hue/sat. Layer and set the saturation to 100% and the lightness to about -50% this allows you to see any spots you might have missed. Once you are finished, delete the layer. 10. After that open the levels layer and adjust the photo. I have found that simply clicking on auto works well most of the time. 11. Then choose the clone brush and clean up any dust spots on the smoke itself. 12. Open a new Hue/Saturation layer, then click colorize. Adjust the sliders as necessary to achieve the color you want. 13. then just resize, sharpen and save. Here is the finished product. If you want to make one with multiple colors then continue reading. After finishing step twelve click on the paint bucket and set the color to black, then click on the picture. After that take the paintbrush and set it to white and brush the parts of the picture that you want to be that color. Then turn off the layer. then open another hue/saturation layer and repeat. Once you are done turn the previous layer back on. Then make any necessary adjustments. Here is the finished product. Thanks for taking time to read all of this! I really do appreciate it!. Matt.
Home -
Challenges -
Community -
League -
Photos -
Cameras -
Lenses -
Learn -
Help -
Terms of Use -
Privacy -
Top ^
DPChallenge, and website content and design, Copyright © 2001-2026 Challenging Technologies, LLC. All digital photo copyrights belong to the photographers and may not be used without permission. Current Server Time: 07/12/2026 07:07:13 PM EDT. |