| You are not logged in. (log in or register) | |
|
|
|
Tutorials :: Landscape Backgrounds
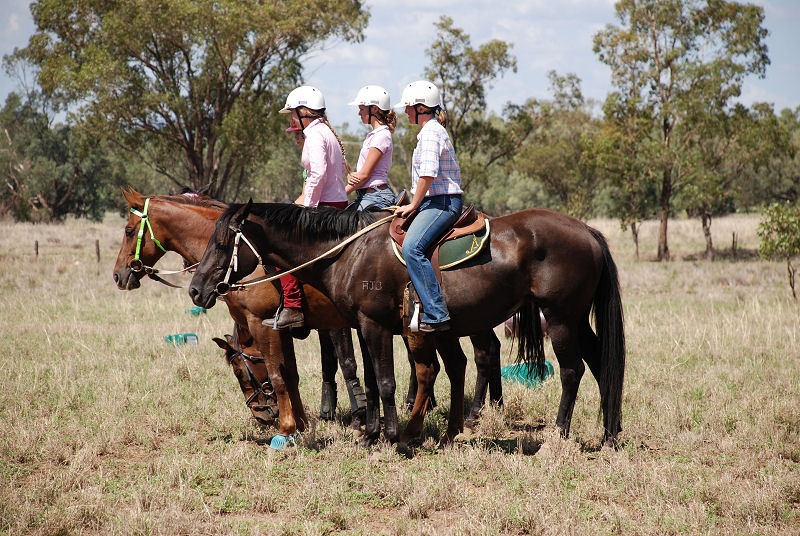
Landscape Backgrounds by xXxscarletxXxAlright so I was asked to do a tutorial on how I do my landscapes lately. This is a 15 minute tutorial as I didn’t do much to the original. This tutorial was written for Corel Paint Shop Pro Photo XI. I’m pretty sure things are much and much the same. Were going to turn this:
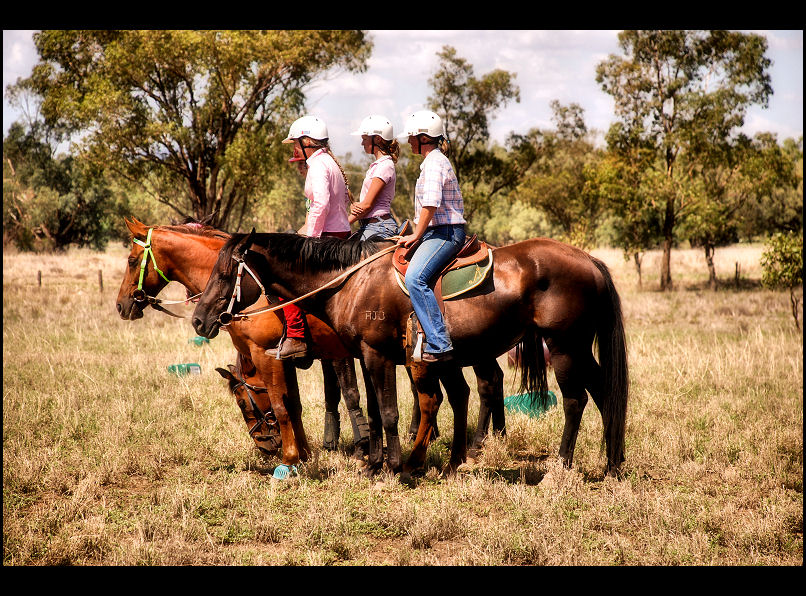
Into this:
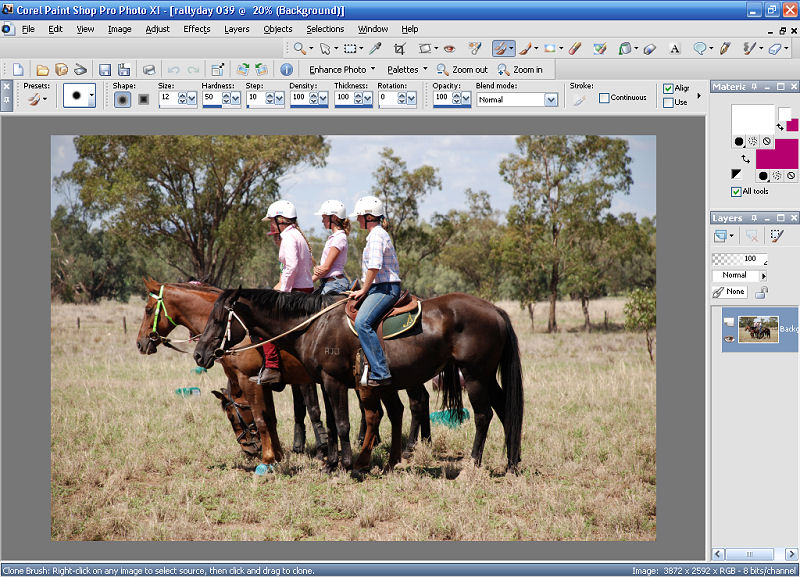
Open the Image:
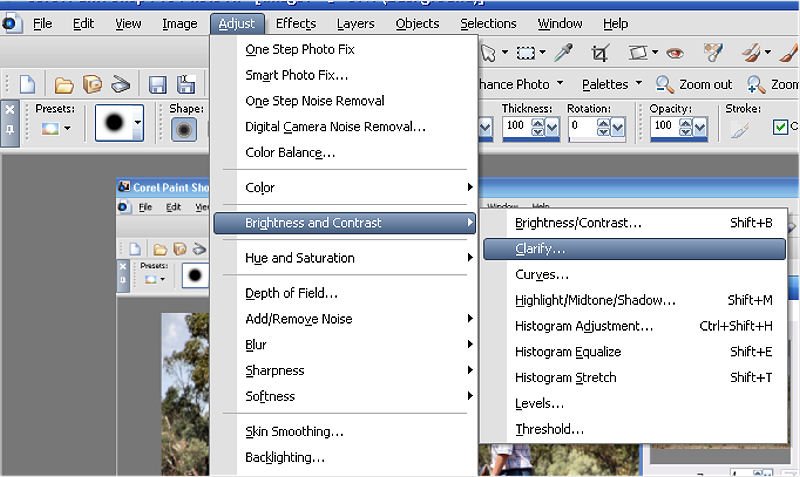
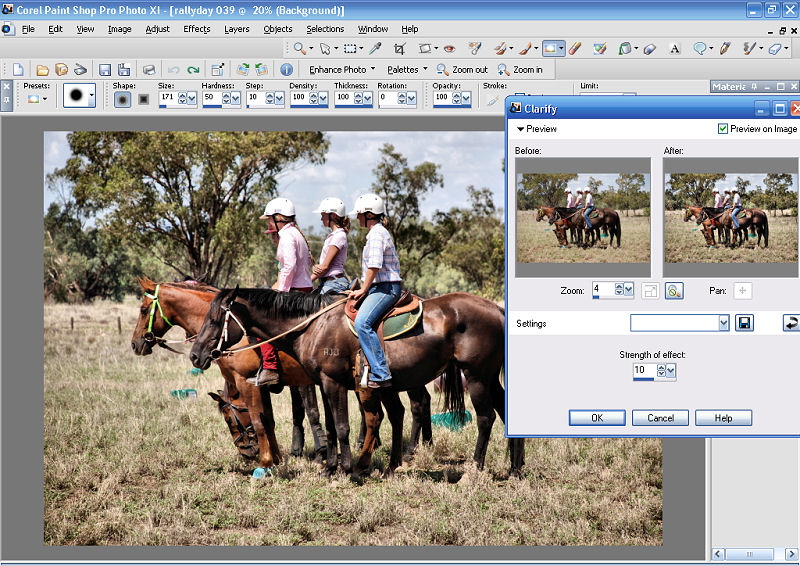
After opening up the image, the first thing we want to do is highlight the horses muscles etc. We'll accomplish this by using the "Clarify" tool under the Adjust / Brightness and Contrast menu:
Change the "Strength of effect" value until the parts of the image that need to be highlighted and shadowed are (it's a great tool):
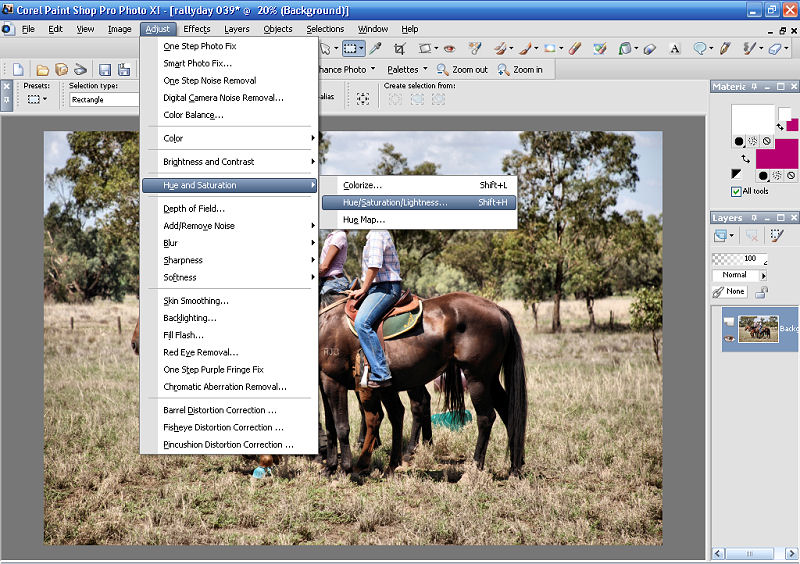
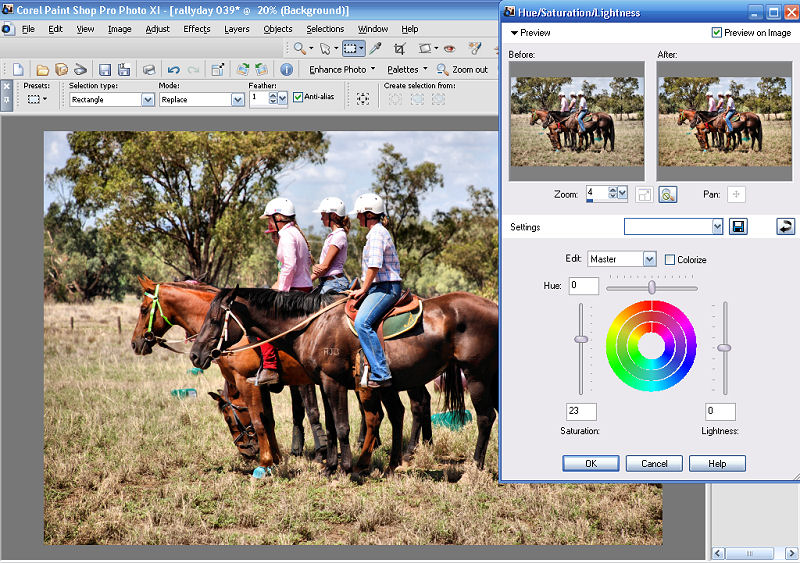
Now we want some colour in the picture, so select The Hue/Saturation/Lightness tool from the Adjust / Hue Saturation menu.
Adjust it to where you think the skin tones looks right. You'll need to tone down the levels of red and yellow:
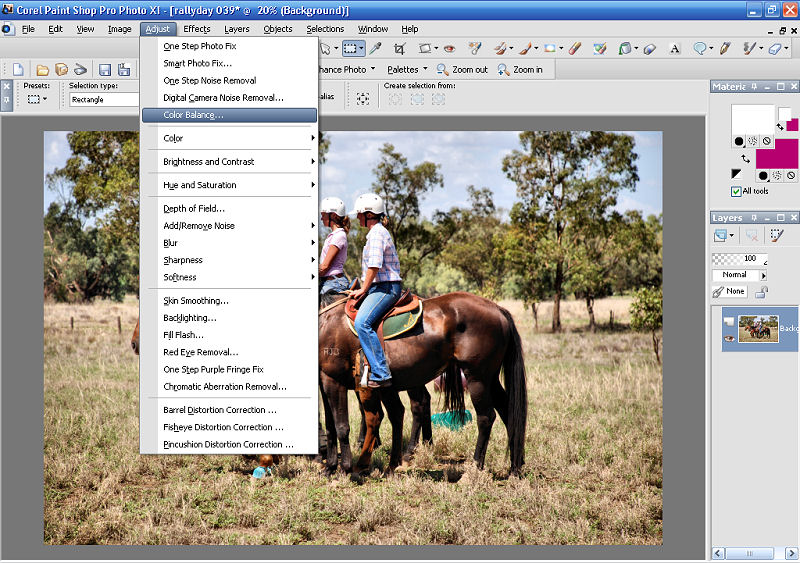
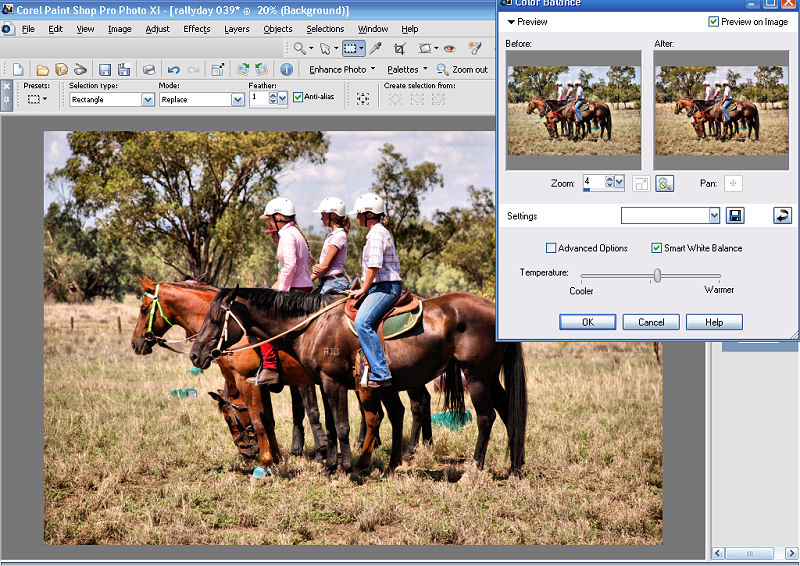
I think the picture needs some warmth, because it is Australia after all. So we select "Colour Balance" from the Adjust menu and up the warmth:
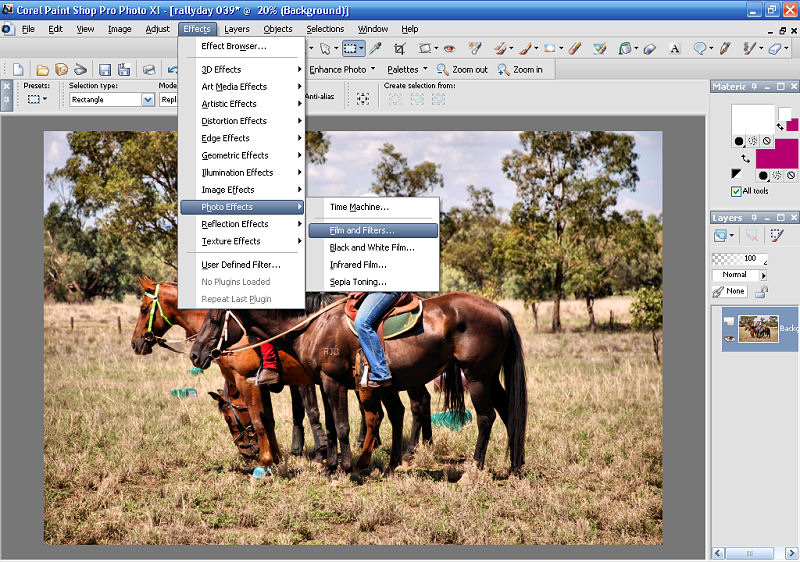
It also seems to lack something so to give it that soft sort of delicate feel we go select "Film and Filters" from the Effects / Photo Effects menu:
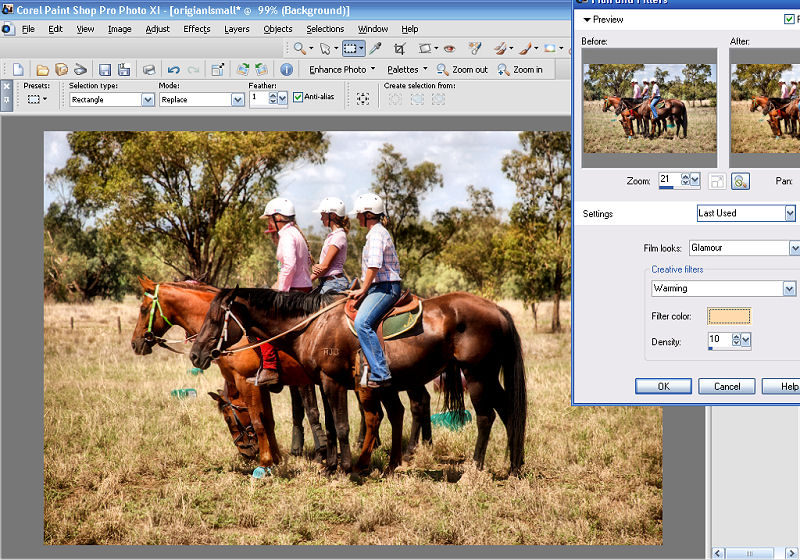
Change it around to what you feel suits the photo in this case its Film: Glamour and a Warming filter (this action is not Legal in Basic).
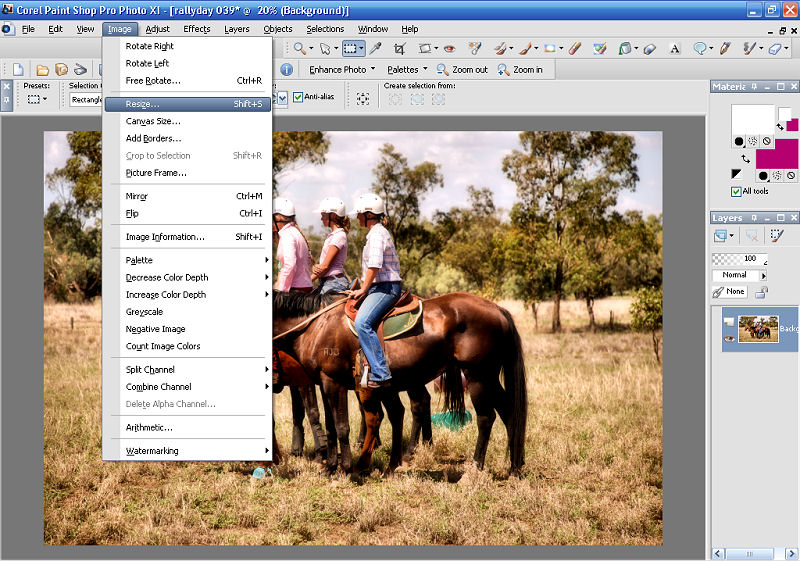
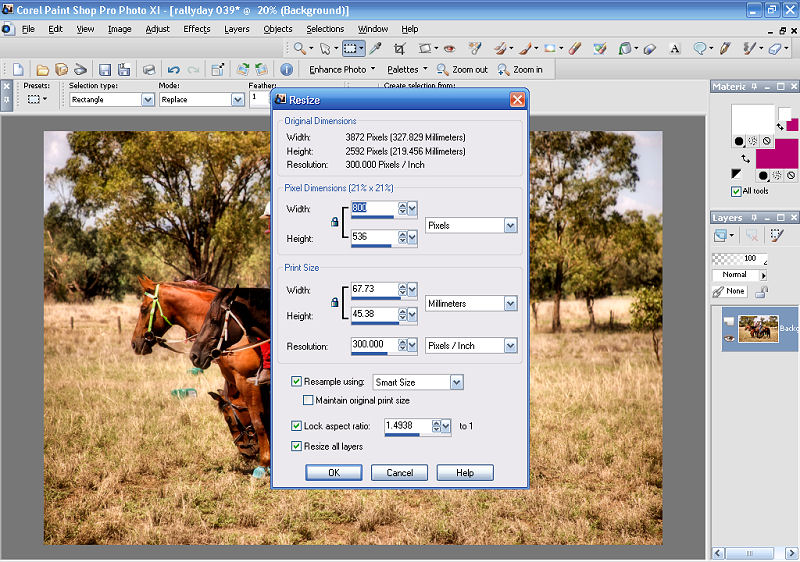
Now we just need to finish it up. First we resize it to a which ever size you like in this case 6 x 8, so Image/Resize:
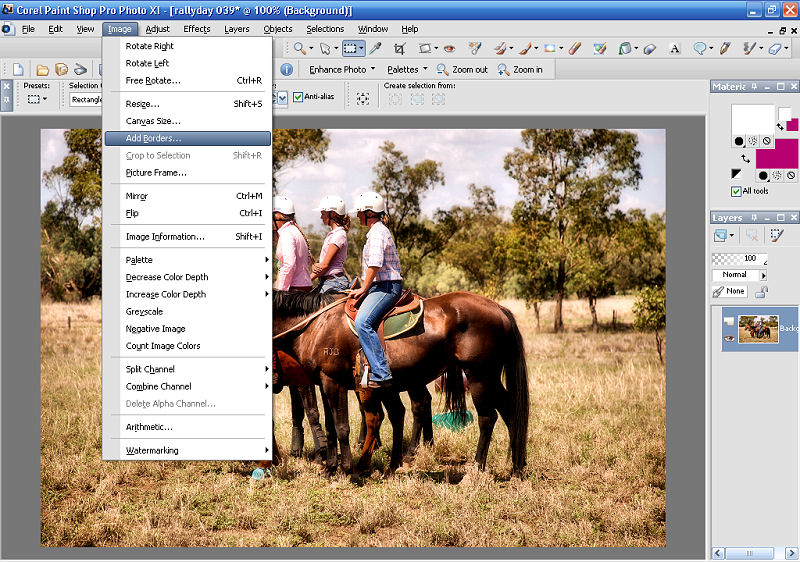
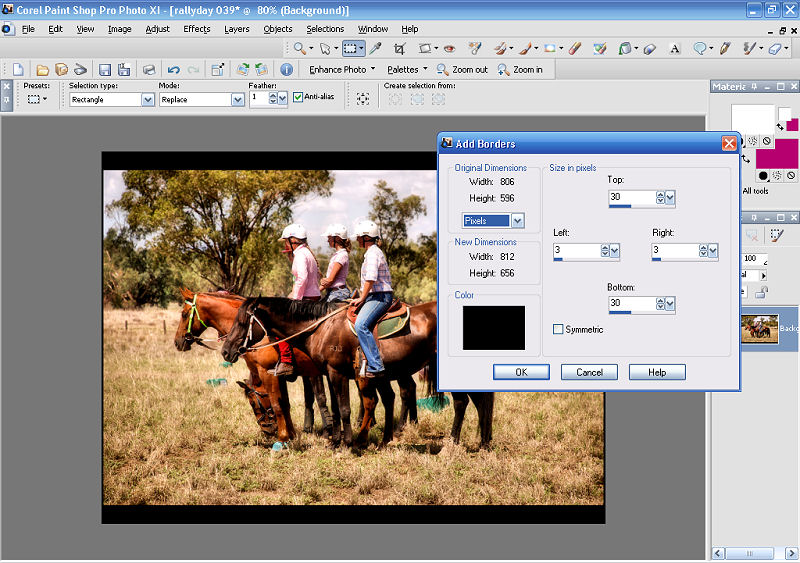
Then we sharpen because big photos don't like to be made smaller Adjust/Sharpness/Sharpen Do this once otherwise it will look all pixelated. Then we add a border and were done! So Image/Add border:
I hope you guys liked the tutorial and found it understandable have fun with this easy background trick!
Home -
Challenges -
Community -
League -
Photos -
Cameras -
Lenses -
Learn -
Help -
Terms of Use -
Privacy -
Top ^
DPChallenge, and website content and design, Copyright © 2001-2026 Challenging Technologies, LLC. All digital photo copyrights belong to the photographers and may not be used without permission. Current Server Time: 07/18/2026 12:53:44 PM EDT. |