
| You are not logged in. (log in or register) | |
|
|
|
Tutorials :: How to Remove a Color Cast
How to Remove a Color Cast by moodvilleHow to remove a color cast from an imageWhether it is due to lighting or camera settings, images usually have some sort of color cast. Yellow and red casts are more common but blue casts are also possible. Following is just one way to reduce the color cast in an image using Photoshop. I'd like to thank crabAPPL3 for supplying the snake photograph!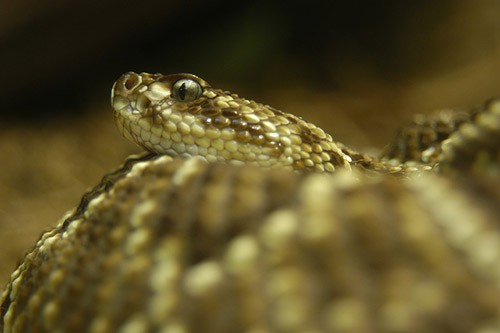 The first thing we do after opening up the image with the color cast is to find the white and black points. Finding the black and white point of an imageIf the Layers dialog box is not already open then do so by clicking on Layers under the Windows menu. With the layers dialog open we need to create a new adjustment layer by clicking on the half black, half white circle. When the icon is clicked once a popup menu shows a list of options, we need to select Threshold. The Threshold dialog box will open up with a histogram and slider, and the image will be temporary changed.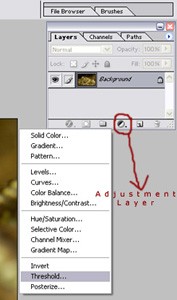 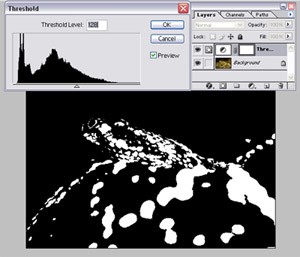 In order to find the black and white point we need to drag the Threshold Level slider under the histogram all the way to the edge. We'll do the black point first. Move the slider all the way to the left and the image should turn completely white. We then need to slowly drag the slider toward the right until we see some black coming back into the image. This is the darkest area of the image. Click OK to close the dialog box. 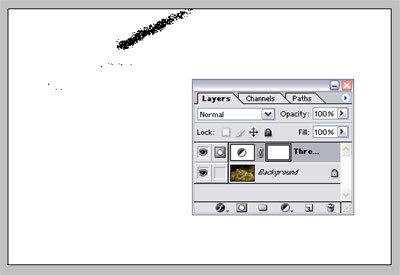 Once we have found the darkest area of the image we need to mark it for future reference. We do this by using the Color Sampler tool. To access this tool you need to click and hold on the Eyedropper Tool until the menu appears and then select the second tool on the list called the Color Sampler Tool. You also need to make sure the Sample Size is set to 3 by 3 Average on the top toolbar. 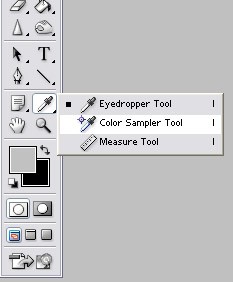 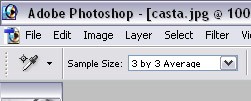 With the Color Sampler Tool you now need to click on the black area. This will put an icon with the number one next to it on the image and is used as a reference point for later. You should also see the info box open up. If the box is not opened then you can open it by using Windows > Info. 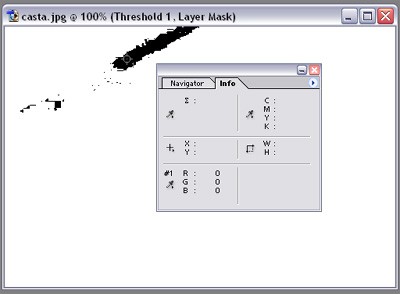 Once you have tagged the black point it is time to find the white point, which is a similar procedure except we move the slider to the right first. Double-click on the Layer Thumbail in the layers box and the Threshold Slider dialog box should open again. Move the slider all the way to the right and slowly move it back towards the left until you start seeing some white areas appear. Click OK. 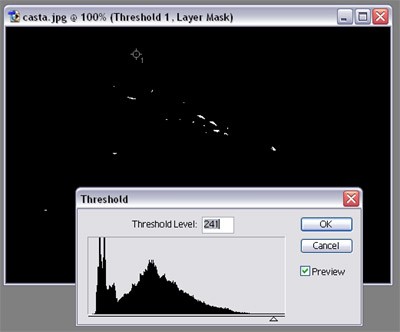 This is the brightest area of your image and we tag it just like we did with the black point by using the Color Sampler Tool as described above. Once you have both areas marked you can delete the adjustment layer by clicking and dragging it to the dustbin in the layers box. Your image should go back to normal but have two small icons with the numbers one and two beside them. 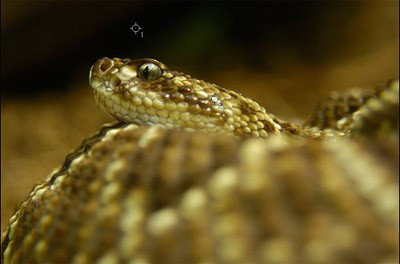 Using CurvesNow that we have our black and white points we can adjust the image using curves. To start with, open up your curves dialog box using Image > Adjustments > Curves or by pressing Ctrl M. The section we are most interested in is in the bottom right corner.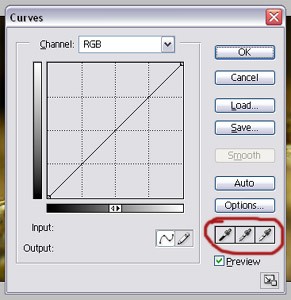 The first dropper sets the black point, the second dropper sets the gray point, and the third dropper sets the white point. Click on the first dropper (black point) and locate the marker with the number one on your image (the shadows). Click inside the icon and you may see a slight change in the color of the image. Click on the third dropper (white point) and locate the second marker with the number two (the highlights). Click inside the icon and you should see a slight change in the color of the image. Sometimes the color cast will be in the midtone areas of the image and so we also need to set the gray point. Unfortunately there isnt an easy way to locate the gray point so we have to find it ourselves. In the Info dialog box click on the dropper in the top left corner and make sure Total Ink is selected. 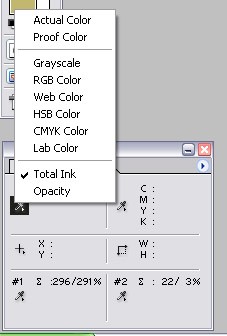 Click on the second dropper (gray point) in the Curves dialog box and then look around the image for a midtone color (not a shadow or highlight). When you move the dropper over the various parts of the image the number will change in the info box. Keep looking until the number becomes 128 and then click on that spot. 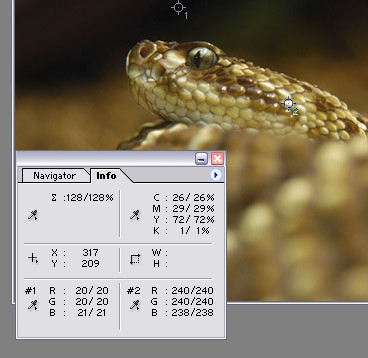 The last adjustment needed before you click OK in the curves box is to click the center part of the curves graph and move it upwards a little to brighten the midtones. There is no magic amount so you'll have to judge what looks good to you. To finish click OK. The colors in your image should now look a lot better (hopefully). To get rid of the markers click on the Clear button on the top toolbar next to where we selected the 3 by 3 average. 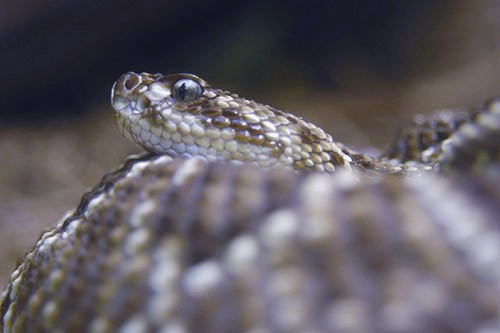
Home -
Challenges -
Community -
League -
Photos -
Cameras -
Lenses -
Learn -
Help -
Terms of Use -
Privacy -
Top ^
DPChallenge, and website content and design, Copyright © 2001-2026 Challenging Technologies, LLC. All digital photo copyrights belong to the photographers and may not be used without permission. Current Server Time: 07/16/2026 12:52:53 PM EDT. |