Originally posted by Skyarcher:
I really like how this turned out Brad. Any chance that you could list what steps you took in PS to work it? Would appreciate it. :) |
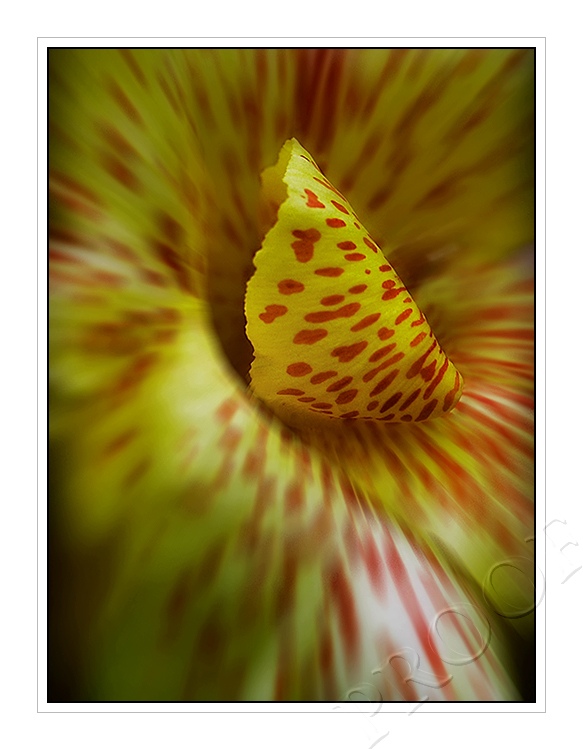
No problem - took but a few minutes.
Opened, adjusted levels, new layer via copy, burned outsides, erased back insides to give a vignette effect, flattened. New layer via copy, Filter, Blur, Radial Blur, used about 38% and re-aligned the center point on graph to be directly over the center of the large petal, used high quality and hit OK. Then using the eraser tool with a soft-edged brush, erased the main center petal at 100% first run, reset to 50% and work outwards, reset to 25% and worked in effect on the edges of the blur vs. non-blur points, then flattened. Cropped, made a slight contrast adjustment, resized the canvas, stroked to make border lines.
Some scoff at the methods I use, as it's not an adjustment layer on it's own that can be re-edited later if needed (psd), but I rather like using the eraser tool and can see the changes better in my opinion.
Message edited by author 2007-07-26 14:58:44. |