| You are not logged in. (log in or register) | |
|
|
|
How'd They Do That? :: Lone Star
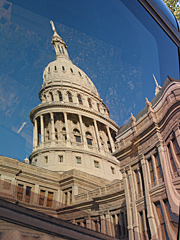
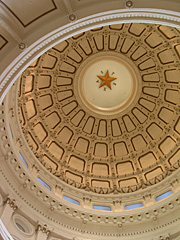
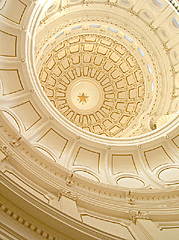
Lone Star by GordonThe shotThe view of the lone star in the Rotunda dome of the Capitol building is a standard postcard image for Austin. I wanted to try and do something slightly different from the typical 'straight underneath' postcard shot. I took some outside shots of the dome and almost got arrested by security for taking shots of a reflection in a car window of the dome (post Sept 11th caution) so I decided to head inside. I took several shots straight up, centered right under the star but they weren't very interesting as the composition is very static, with the star in the center and concentric rings around it.
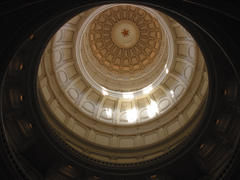
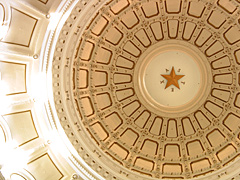
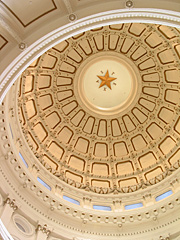
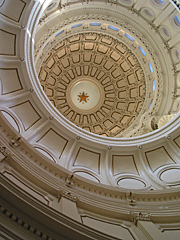
I decided to try something that would have more depth, with some of the wall included, leading up to the dome and placing the star more off center as a focal point for all of the converging lines to lead to. The stone is quite creamy but I wanted something quite high-key and light so I set the camera in full manual mode, metered and then overexposed by a stop to brighten up the stonework. The final shot was taken pressed against the wall, holding the camera up on the tripod so that the close in wall would show. I tried to arrange it to catch the blue of the outside sky as it was an interesting contrast to the white stone. One of the key techniques I used for this shot was bracketing. This essentially means taking the same shot at different exposures, to get a darker or lighter shot than the camera meter might suggest. The shots below show the effect of bracketing in this example.
I wanted to get the star at least 'level' but if I was doing this again I'd orientate things so that the writing was the correct way around too. Post processing
Very little processing was done to this, other than further lightening the shot using the levels command. In some versions the edit was too white and it started feeling cold so the hard part was to keep some of the warmth in the shot while keeping the detail and bright blue light.
After playing with the levels a bit the image was resized down in Photoshop (Image->Resize, bicubic resampling on and set the dimensions to W480 H 640). I didn't crop this image at all as I liked it just the way it came out of the camera. I then sharpened it using an unsharp mask with the settings tweaked until it looked about right in the preview. It takes a bit of adjustment to get the sharpening right as different pictures require different amounts, the important thing being that it has to be done after you resample as the resampling process tends to average out and slightly blur the image. It's an important step in getting a good final result.

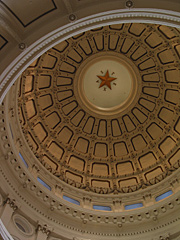
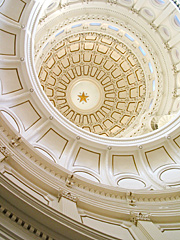
The final version. Much warmer and bright than the
original or some of the over edited versions.
Home -
Challenges -
Community -
League -
Photos -
Cameras -
Lenses -
Learn -
Help -
Terms of Use -
Privacy -
Top ^
DPChallenge, and website content and design, Copyright © 2001-2026 Challenging Technologies, LLC. All digital photo copyrights belong to the photographers and may not be used without permission. Current Server Time: 06/13/2026 12:54:52 PM EDT. |
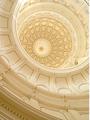
 Lone Star