| You are not logged in. (log in or register) | |
|
|
|
How'd They Do That? :: Weinhardt Orange Cream Soda -- When things just aren't quite right.
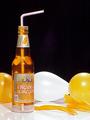
Weinhardt Orange Cream Soda -- When things just aren't quite right. by PatellaThis really isn’t all that hard to figure out how to do once you know undoubtedly it is upside down. The thought processes behind it are probably more interesting. This is the short, down and dirty how to, however. If you want the more interesting version, it can be found at http://www.jtniekamp.com/dpchallenge/updown.rtf I grabbed some super glue and an old broken CD case I already had, bought the soda, bought the straws, found a base (an old dry-erase board I found at a local thrift store), bought some food coloring (I didn’t want to work with the actual pressurized contents of the soda bottle, so I made something that looked like it out of water instead), and then bought some set decorations at a $1 store (balloons, orange cream licorice, some orange and white shredded paper, etc.) I cut a cap for the top of the bottle out of the old CD case. The straws weren’t long enough, so I slit one and spliced two of them together. (You can see the splice inside the bottle in the photo.) Drilled a hole in the cap that was just big enough for the straw to fit through and then glued it to the top of the bottle. When the glue seemed dry enough, I inserted the straw and glued it to the cap. Another period of waiting for glue to dry. Then, I filled the bottle with water to the level I wanted (mostly full, but enough missing to look like more than just a thick glass bottom) and then added red and yellow food coloring for the orange color. I turned the thing over, and after fixing a couple of leaks (and making the thing look uglier and uglier as you can see in the following shots), I sealed off the straw by shoving one of the uninflated balloons up inside the straw as a cork – it mostly worked. 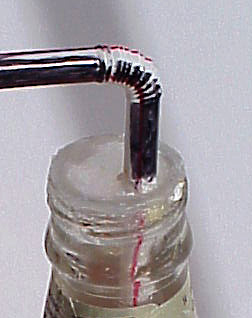 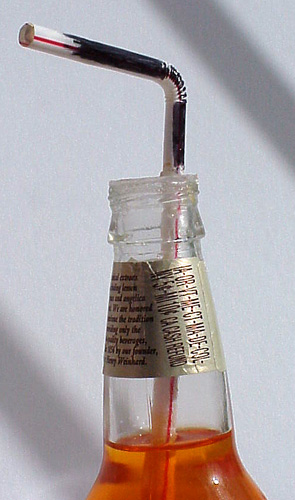 After a little trial and error, I decided basically on the way I wanted the foreground to look and glued the bottle and a few pieces of licorice to the board. I let it hang upside down from four tripods. Placed a light pretty much straight on in front of and “above” the set and another behind and above. When I’d bought the balloons, I thought it might be fun to make them look like helium balloons by letting them hang down. They simply weren’t big enough to look right, nor heavy enough to make the string hang as taught as I’d have liked it, but you can see them in the picture that follows. In the end, I settled for using them as a ground level background element and was able to easily move them around and perfect their placement by using static electricity to keep them on the board (instead of super glue). 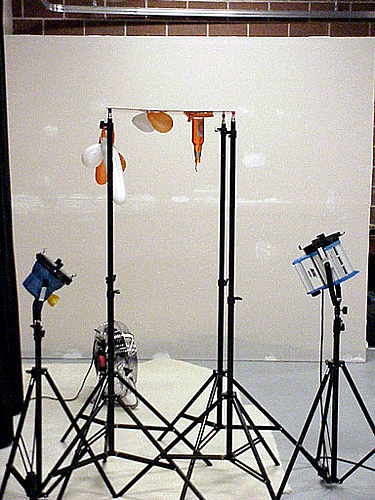 Because of the backlight, and the balloon in the straw, I had a problem with light shining through most, but not all, of the straw. 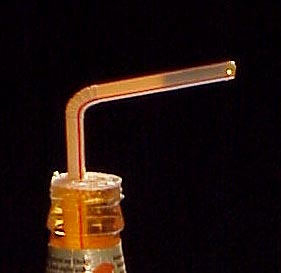 Ended up taking a black permanent marker and masking the back of the straw to prevent the light coming through. (You can see this in earlier photos.) It was mostly effective, but if you look carefully, you can still see where the balloon is in the straw in the final entry. Post camera finishing in Photoshop was mostly just resizing and minimal cropping. I messed around a bit with the levels, but I can’t remember if I did anything with them or not – if I did, it wasn’t much at all. (Looking at the original, it looks like I may have tweaked the midtones a little bit.) 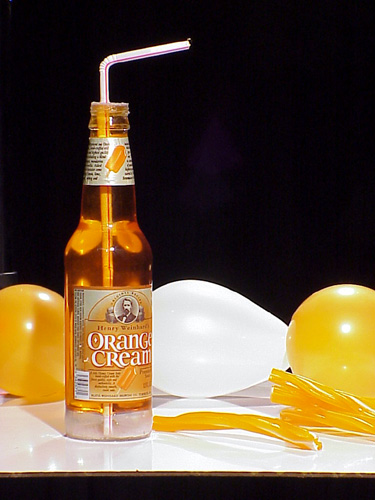 Final Shot, Raw 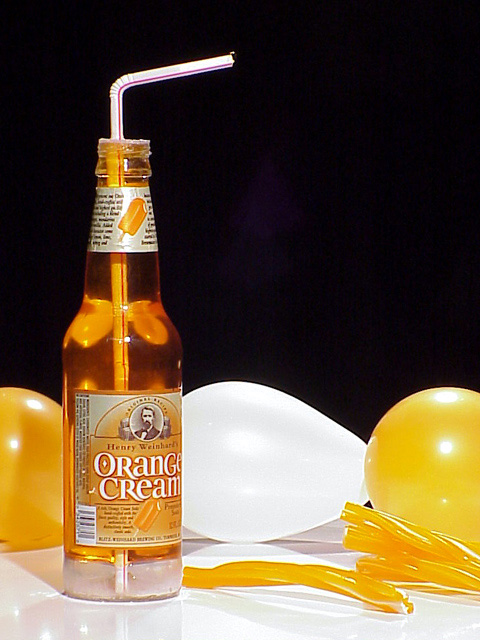 Final Shot, Submitted
Home -
Challenges -
Community -
League -
Photos -
Cameras -
Lenses -
Learn -
Help -
Terms of Use -
Privacy -
Top ^
DPChallenge, and website content and design, Copyright © 2001-2026 Challenging Technologies, LLC. All digital photo copyrights belong to the photographers and may not be used without permission. Current Server Time: 06/16/2026 09:11:36 AM EDT. |